How to setup reverse proxy for a domain
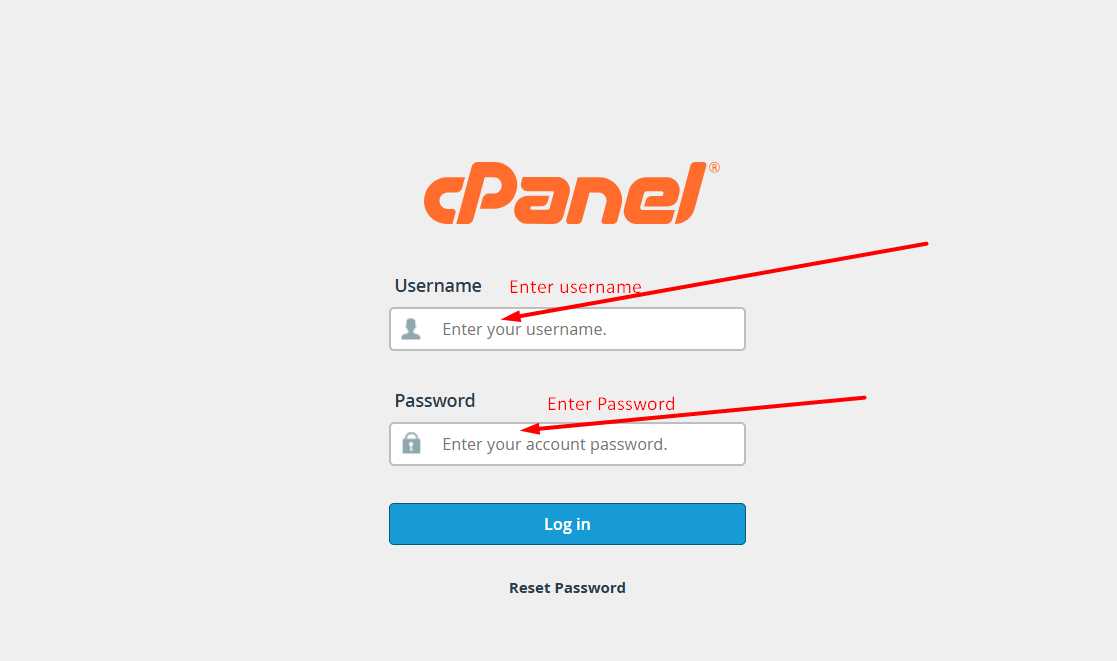
Step 1: Log in to cPanel
To begin, log in to the cPanel account associated with your VPS or dedicated server. You should have received the cPanel login credentials along with your proxy server details. Use these credentials to access your cPanel dashboard.
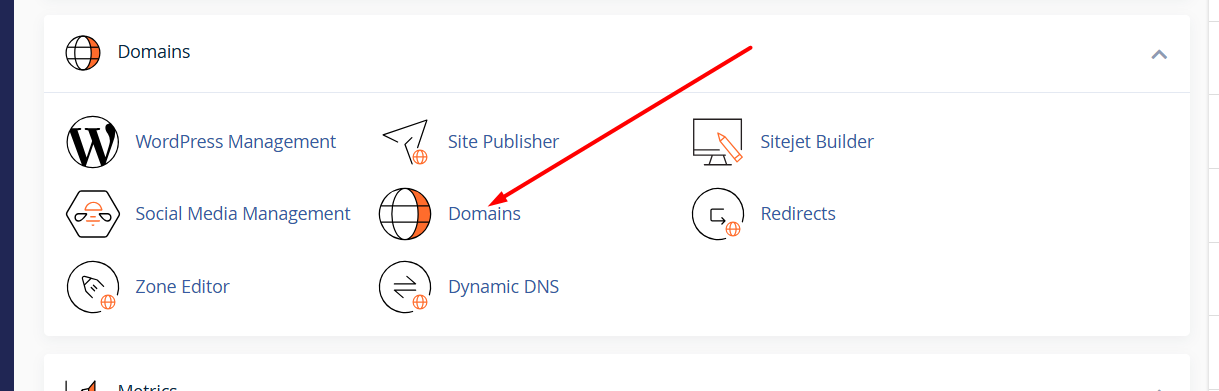
Step 2: Navigate to the Domain Section
Once you're logged into cPanel, locate and click on the "Domains" section. This is where you’ll manage and add new domains for your server setup.
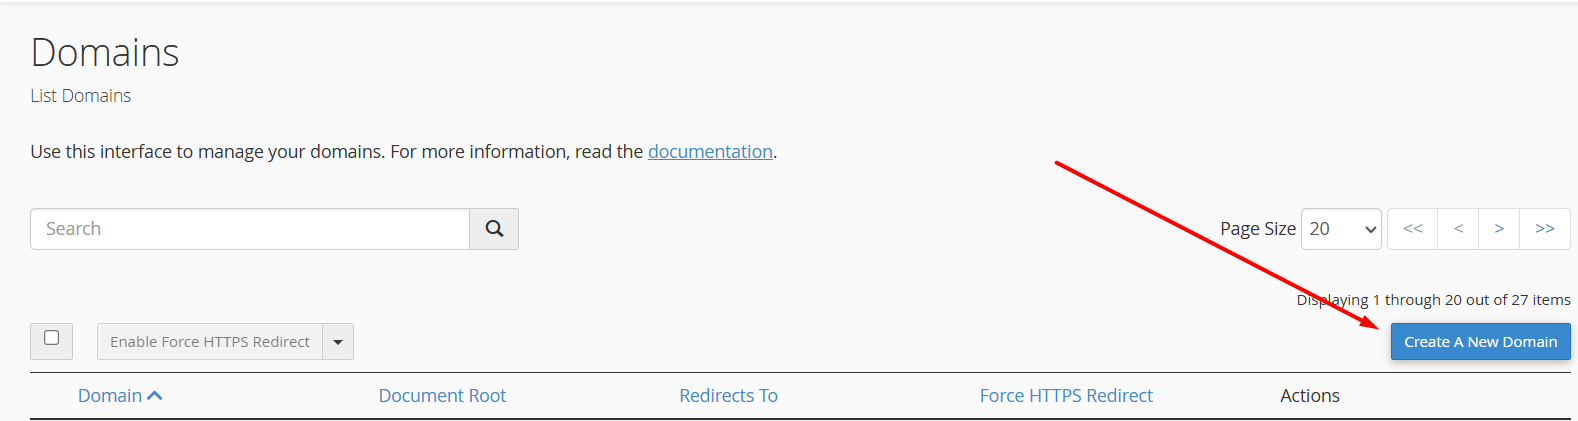
Step 3: Click on “Create a New Domain”
Inside the Domains section, click on the “Create a New Domain” button. This option allows you to attach a new domain to your server, which will act as your proxy.
Step 4: Add Your Domain
Enter the domain name you intend to use for the proxy. During this step, ensure the following:
Keep the directory name as default (do not change it).
Do NOT uncheck the option that links the domain to the document root.
This is crucial—unchecking this option can result in the proxy not functioning correctly.Once You enter Your domain name hit the submit button

Step 5: Point the Domain to the Correct IP
Once your domain is added successfully, the proxy setup is technically complete on the server side. Now, go to your domain registrar or Cloudflare DNS settings, and point your domain to the IP address provided for the proxy.
